How to Install a Dimmer Switch
Published by Nanni on Saturday, October 27, 2012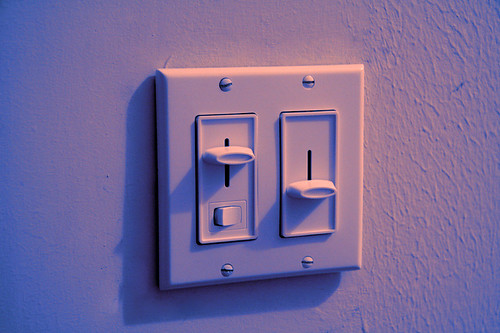
Photo credit by joe.oconnell
A dimmer switch can make a huge difference in your home. Being able to adjust the lights in a room to fit a mood can have an amazing effect. Best of all, installing a dimmer switch is a very easy process. Even if you've never worked with electrical wiring before, you should be able to handle this simple task.
Here's a quick guide to installing a dimmer switch. Before beginning this project, make sure that you have your materials ready: a flat head screwdriver, needle nose pliers, wire strippers, and wire nuts. You'll also need the dimmer switch, of course. Many styles are available, and you can find a dimmer switch easily at your nearest home improvement store.
1. Turn off the power
You'll risk electrocution if you skip this step! If your home has a circuit breaker box, go to the box and turn the breaker switch off for the room with the light switch that you want to replace. If you have a fuse box, take out the fuse for said room. Remember to completely remove the fuse and completely switch off any breaker switches. Check that the electricity is powered off in the room before proceeding. You can easily do this by switching the light on, or using one of the electrical outlets in the room with a lamp.
2. Take out the old switch
You'll just need a flat head screwdriver and some pliers for this. Carefully unhook the wires in the back of the switch--don't cut them, as they're what you need to hook the dimmer switch up (if you do cut them in order to get a cleaner connection, that's fine, but don't cut too much off--use the wire strippers to get a small portion of exposed wire after cutting). Save the screws from the old light switch, and store or throw away the old switch.
3. Install the dimmer switch
Connect the black wires together, and twist them together using a wire nut. There should be two sets of black wires. Do the same with the white and green wires (some homes won't have a green wire, but you'll always have ground wires, and they're important when installing light switches). Screw the dimmer switch into the box, and then put on the faceplate to finish the installation.
4. Turn power back on
Check to make sure that the dimmer switch is working properly.
When in doubt, follow the instructions that came with your dimmer switch. Different switches may have different instructions or carry out the steps above in a different order. Most switches will also have a wiring diagram that comes with them, and this can help to clear up any confusion that you might have in step 3. Remember to be as safe as possible when working with electricity. It is absolutely essential to turn off power before touching any bare wires, and wire nuts are a very important part of the process detailed above.
After your dimmer switch is installed, you'll have a much more relaxing room atmosphere.
Have any other tips or questions about installing dimmer switches? Post below in the comments section.
 | Posted in »

0 comments: Responses to “ How to Install a Dimmer Switch ”